

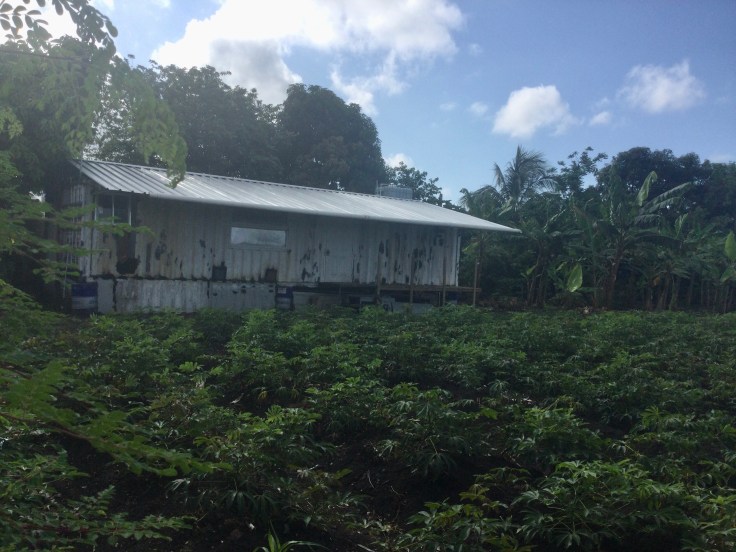
We’re converting two recycled shipping containers (40-foot- and 35-foot containers) into a 2 bedroom /1 bath residence.
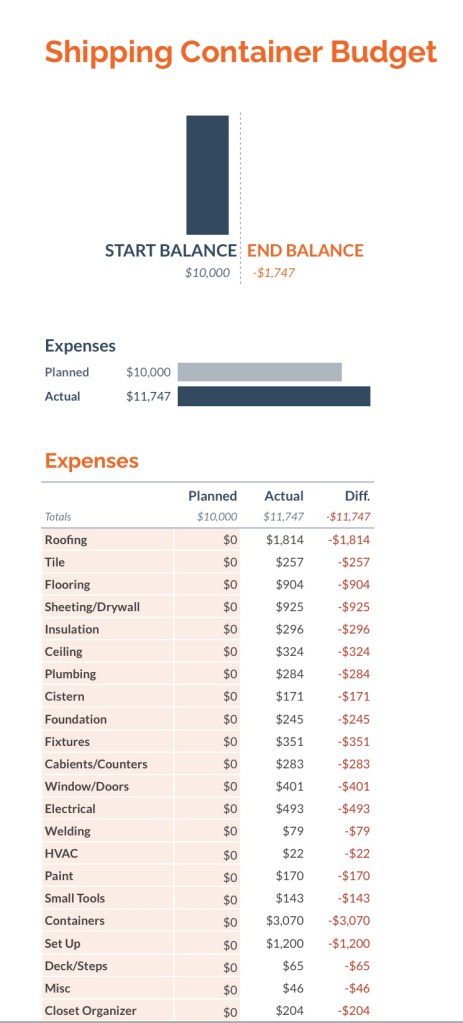
We started with a budget of $10,000. We have been fortunate enough to use many recycled materials in our project. Thus, our cost may not accurately reflect your cost of converting your shipping container home.
In addition, we have done 99% of the labor ourselves. Our budget includes the electrician and some labor, setup costs, the shipping container foundation and footing, windows and doors, and a sloped roof for extra protection and insulation.
This article gives you an overview of our shipping container conversion costs up until now. Granted, we’re not 100% finished with our project yet. But we’ll keep you updated as we progress on our construction.
Also, we will list items we’ve recycled so you’ll know that those areas may cost you more when you plan your container conversion.
Where did we get all of our recycled building materials? Well, we do call it the Great Recycling Project. Previously, one of our shipping containers was already a livable space. It came equipped with the following:
- a shower
- Plumbing and fixtures
- a small kitchen,
- Lighting and Electrical
- steel studs,
- Fiberglass insulation (some of which we’ll reuse in our interior walls for sound reverberation)
Items we’ve recycled
We recycled from the original kitchen:
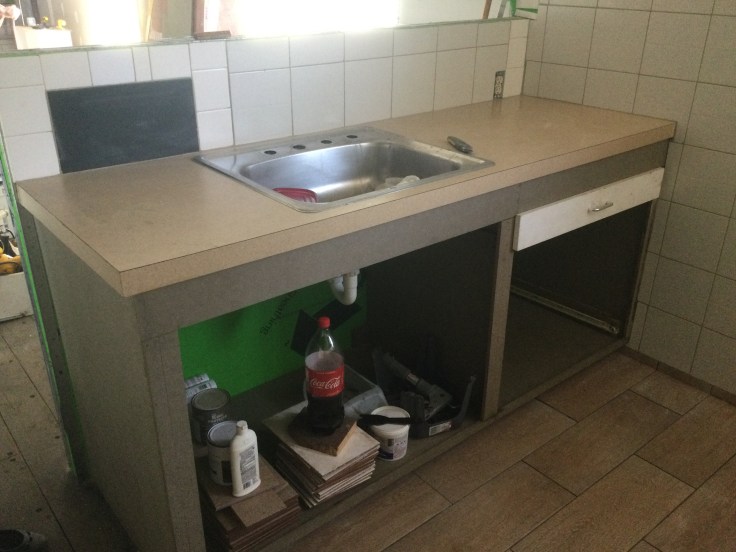
- the sink,
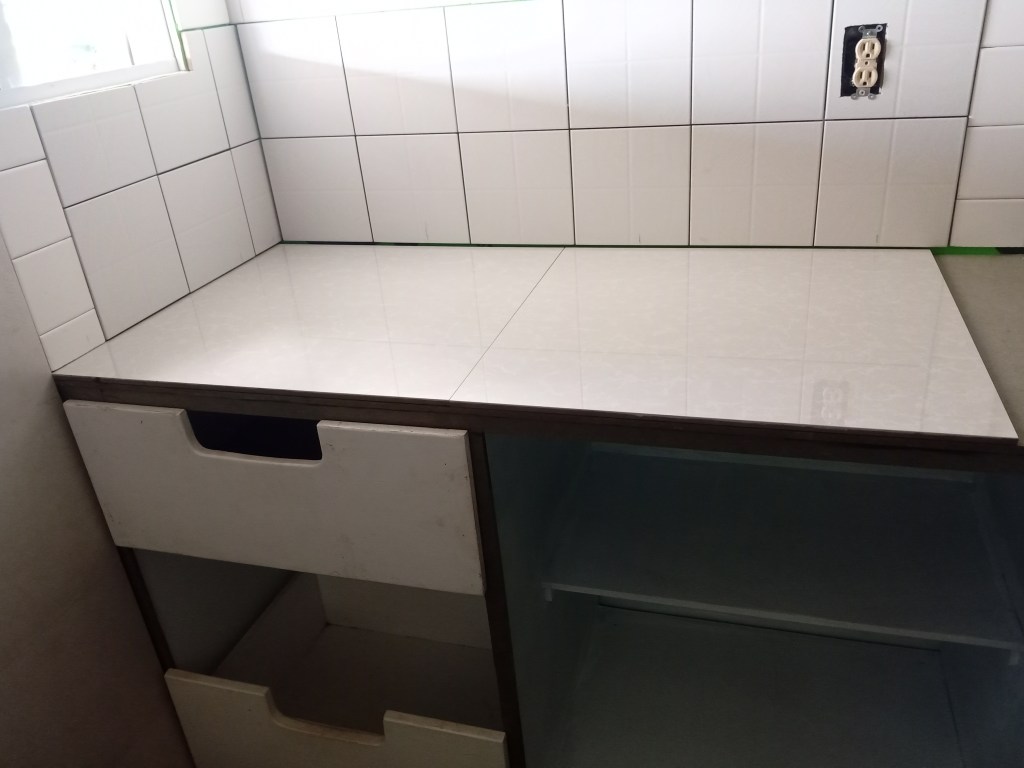
- the countertop
- all of the cabinet and drawer hardware
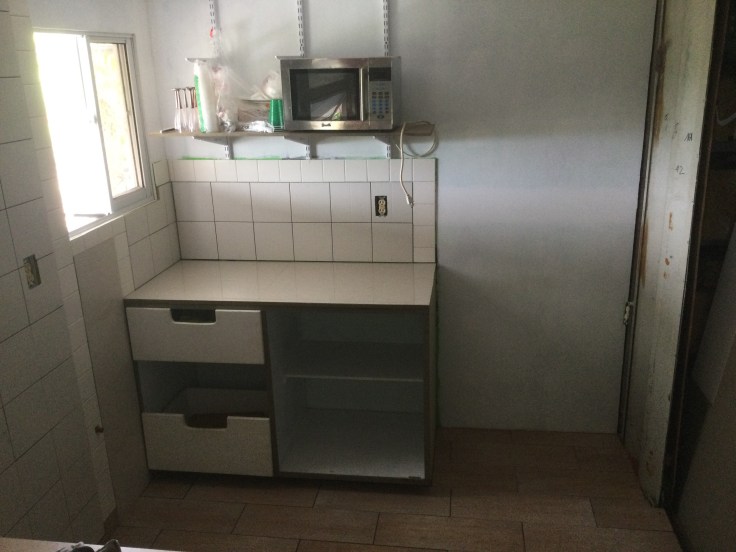
- We were able to save some of the drawers from the closet and the kitchen;
- We used Carbosota (or creosote) to treat them for termites and keep what we could.
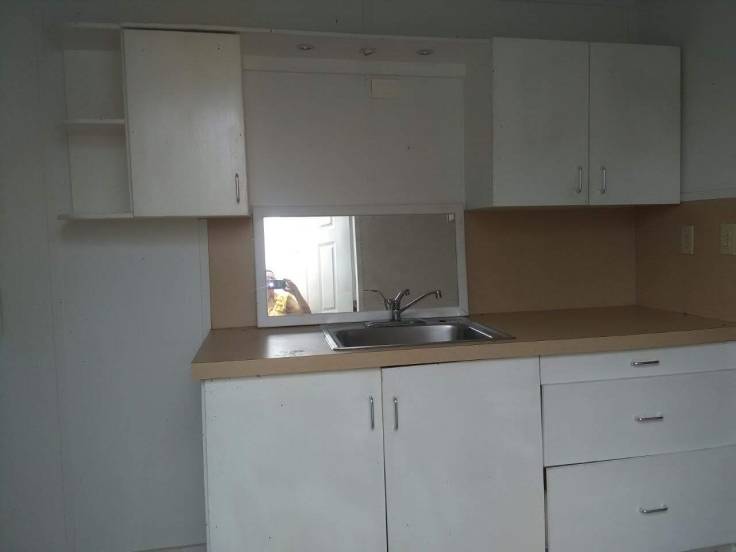

We believe the remaining cabinets were too far gone with termite damage. But “one man’s trash is another man’s treasure.” Our neighbors were willing recipients and were thrilled to receive the cabinets just as they were.
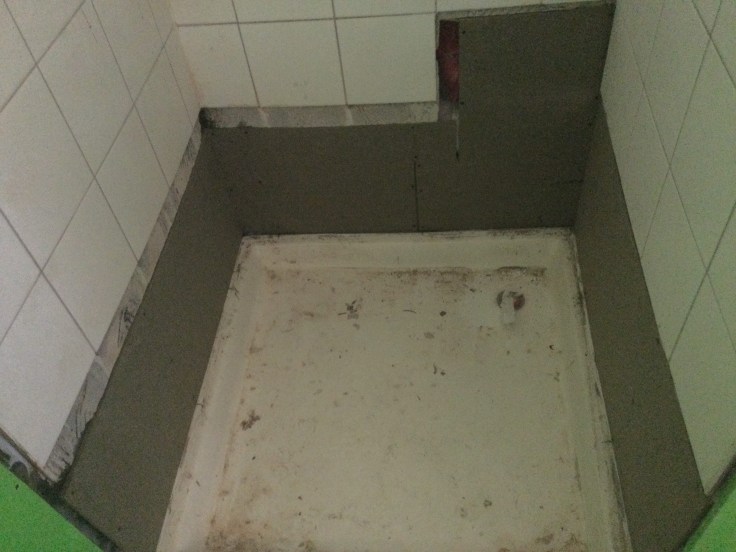
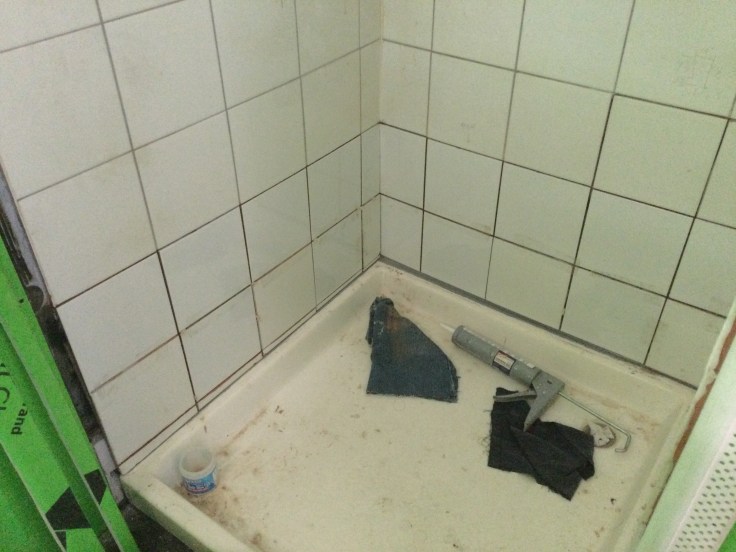
We did our best to keep the original shower walls intact. However, We removed the subflooring in the shower and toilet area. In the process, we discovered an exciting hive of bees living underneath.


Our original toilet broke during delivery when the transportation company dropped our shipping container.
The replacement toilet was recycled, but it consumed a lot of water and was blocked by heavy mineralization. However, we converted our old toilet into a water-saving toilet.
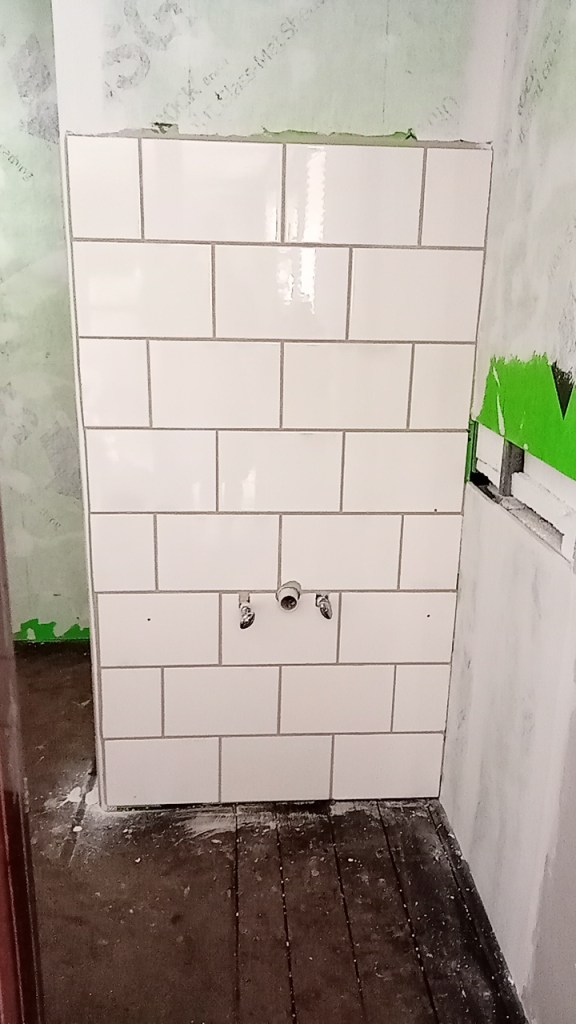
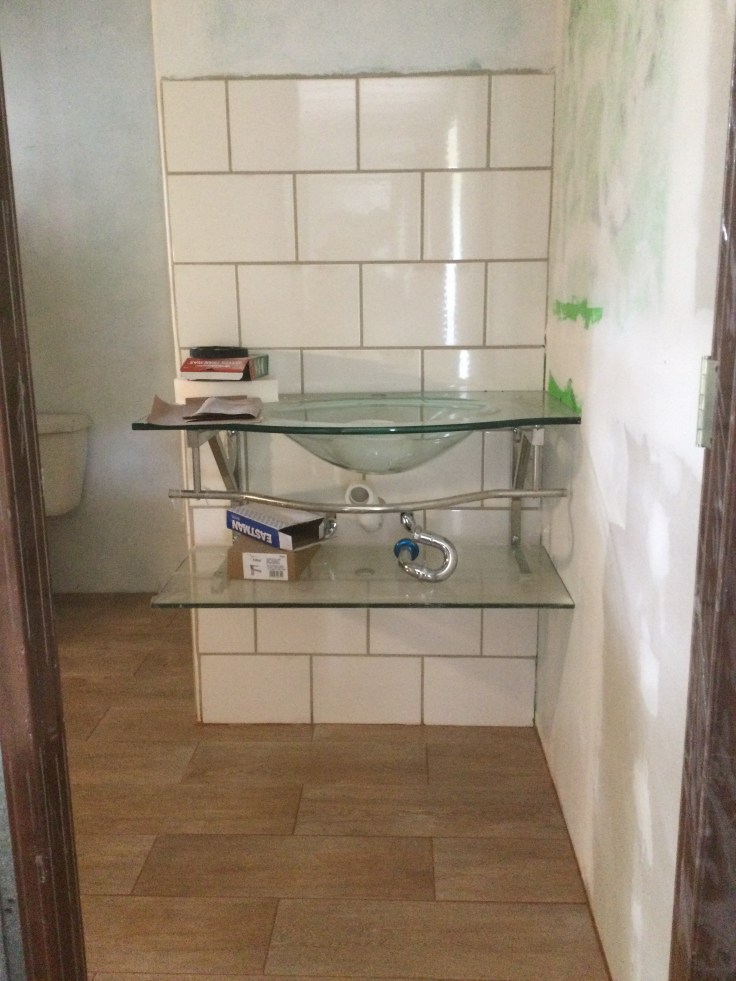
We had to purchase a bathroom sink and vanity because the original bathroom didn’t have one.
We’ll recycle lots of paint, mostly oil-based paint, for the metal and exterior. We’ll need to buy interior paint, but we’re using up what we have.
All of our plumbing pipes are recycled. We have a water heater we plan to install, which we have been given. So we’ve spent very little on plumbing or electrical. Our most significant electrical expense was the inverter and batteries we added for off-the-grid power. We’ll possibly install some solar panels as well.
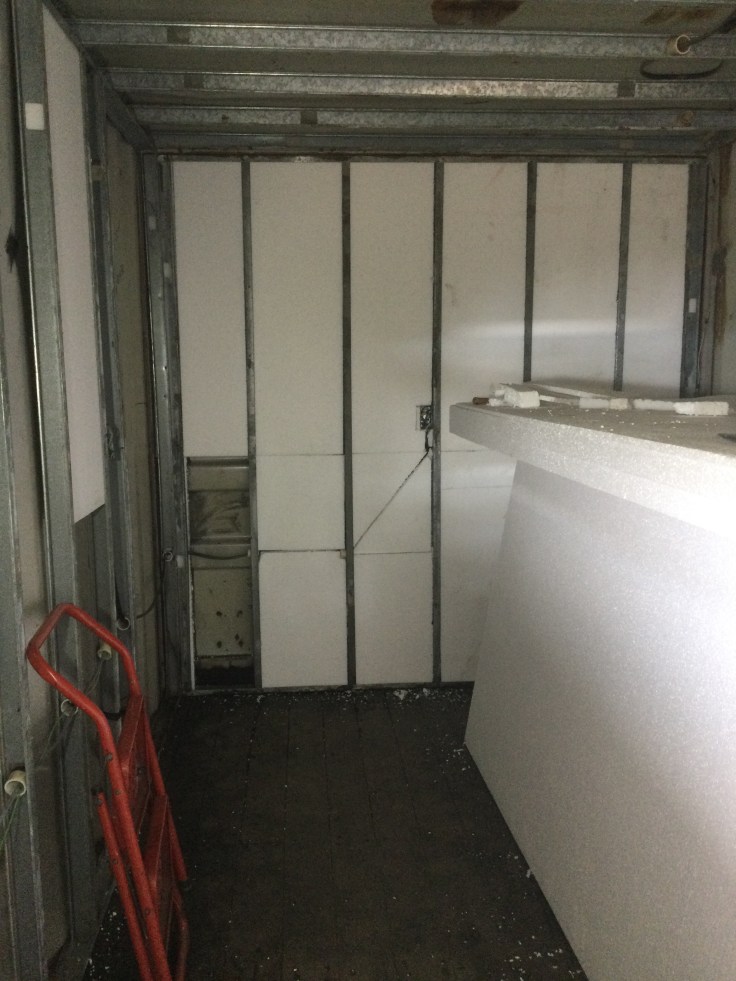
All of the steel studding and hat track are recycled.
Our two decks are recycled shelving units from one of the containers.


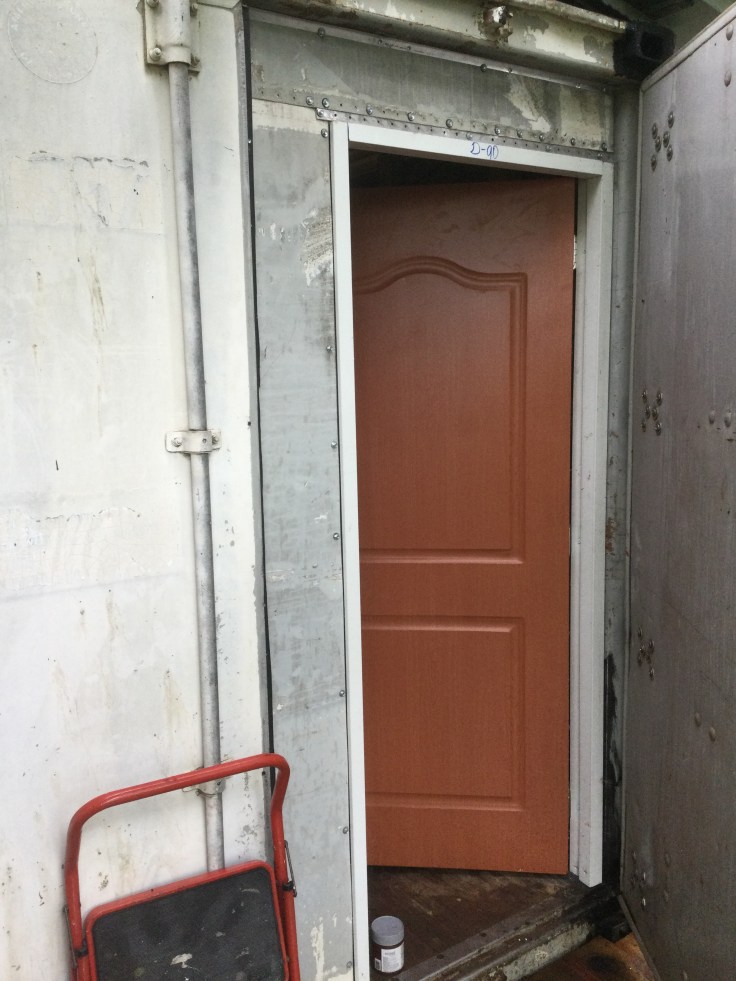
We bought three doors; we already had a pocket door, an accordion door, and the front door. The windows are recycled except for the tiny window for the kitchen we had to buy. We’re contemplating adding a window in the office; however, we’re not sure about that since it has a ventilation fan.
The metal we removed to join the containers we’re using as house skirting.
Building Materials we’ve purchased
- 3 new solid-core doors
- Drywall and dens glass sheeting
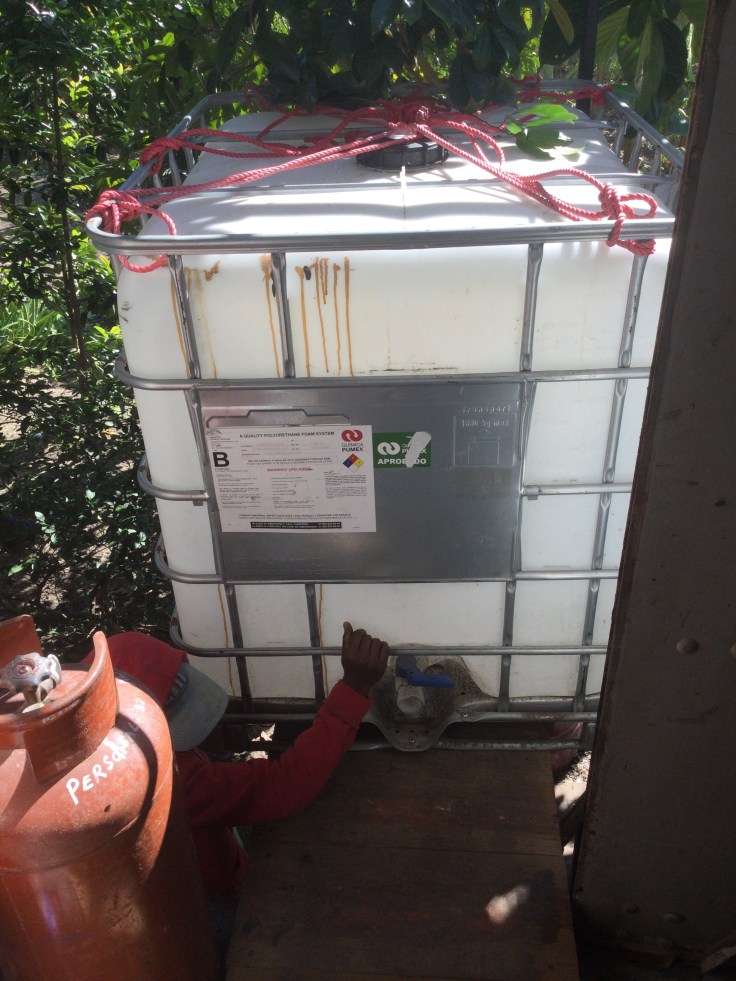
- Styrofoam Insulation
- Laminate (Pergo) flooring
- Floor and Kitchen Tile
- Track light
- MDF for kitchen cabinets
- Bathroom Vanity
- Aluzinc roofing and galvanized metal for trusses
- Plywood kitchen shelving, brackets, and varnish
- 30”x 30” kitchen window
- Water Storage tank
- Water pump
- Screws and small tools for working
- Inverter & Batteries

A few money-saving tips:
- Whenever we must buy something new, we purchase the best quality we can afford and, if possible, sale or clearance items.
- If you choose classic colors, designs, and styles, the building materials and fixtures will look elegant for a long time. Whenever you use very trendy designs, they become outdated very quickly.

The Bottom Line
You’ll need to include labor costs (a major part of construction costs). A good rule of thumb in construction is that labor costs are 100% of materials cost. For example, if our materials cost us $10,000, then the labor will also cost $10,000, for a total building cost of $20,000.
What has EVEN happened to us on this project was the miscalculation of building materials. For instance, We underestimated how much flooring we needed. It created several problems. Firstly, the additional cost, and second, not finding the exact matching flooring. So we have gone a bit over budget.
Remember to calculate for inflation; building materials fluctuate a lot. Also, it’s common practice to add 10+% more for materials waste so you don’t end up with a bunch of tiny pieces you can’t use. As a result, the labor cost ends up being 15+% higher. As per our example of $10,000, we will then need to add 20% more. So the final cost turns out to be more like $22,000.
So, for you guys, getting a container home similar to ours will likely cost you a minimum of $22,000 (twice our original budget).
Let us know:
DO you have any money-saving ideas?
Did you finish a project of your own? How much did you spend?

**We are an Affiliate Associate of Amazon.com. We get a small percentage of the sale when you buy something through our links. This helps us keep the site running and provide you with great content. Thanks again for supporting us!

Leave a comment